Ceiling
Difficulty
Time
8 days
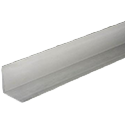
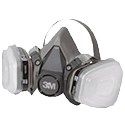
Materials Used


Just like a roof on a house, the ceiling and fan is an important aspect of the campervan to get right.
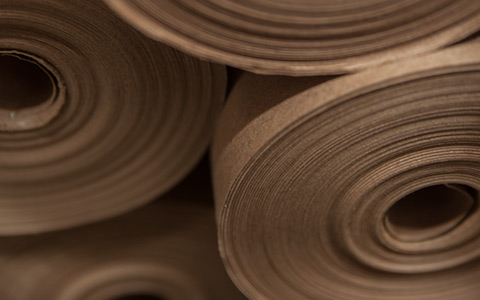
1 Collect and prepare paneling material (optional)
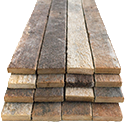
Decorating your ceiling is one of many things you can do to add some personal flair to your van. For me it was using old plaster lath I found on Craigslist from a historic Cleveland church built in 1886.
Some other ideas could be the use of old burlap coffee bags, antiquated road signs, or a large hippie style tapestry. Completely up to you.
-
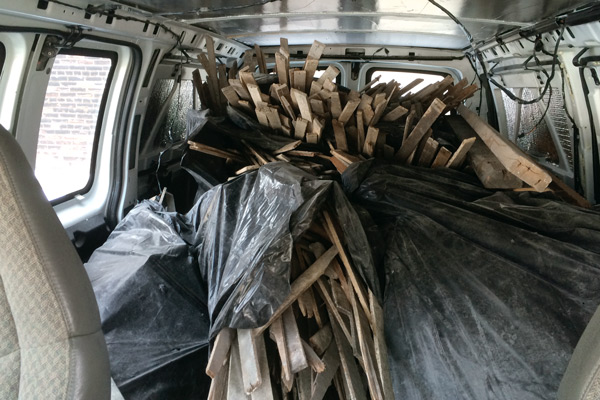
Collecting the raw bags of plaster lath from the church. There were several more bags I simply couldn't fit into the van.
-
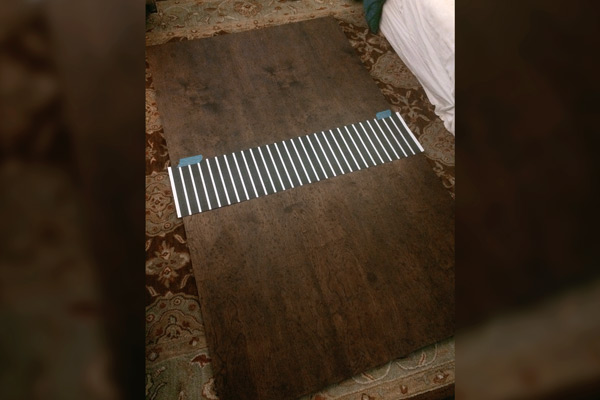
While the patina on the wood was nice, I was going for a cleaner look so I sanded each individual piece.
-
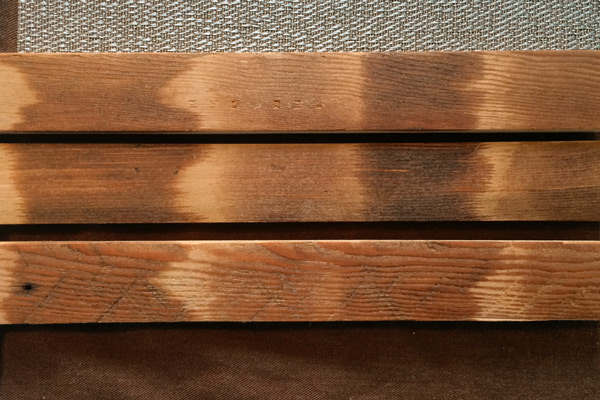
Testing different stain colors with various application methods.
2 Cut, mark and stain plywood
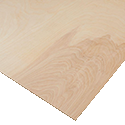
Luckily the roof of my van was exactly four feet wide—the exact width of a standard sheet of 1/4” plywood. The length of the van however is too long for a single sheet of plywood. Two sheets will be required. Make sure the seam between your two pieces of plywood line up with the roof’s support braces (or ribs). You will be securing the plywood to this in a later step.
Since I was going to be spacing and securing my lath wood evenly across the entire ceiling, I decided it was best to mark the very specific spacing on the plywood at this time. Using a large format plotter, I printed a special template made in Adobe Illustrator that showed the exact spacing of the lath. This template was used for the ceiling and later on with the kitchen.
-
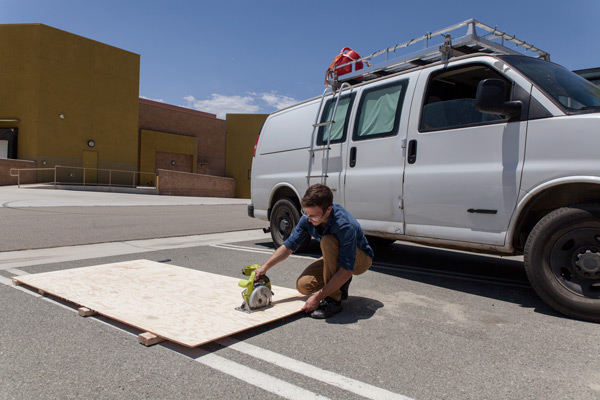
Cut before staining.
-
After attempting to make a lath placement template with just measuring, I decided a template made on a computer would be much more accurate.
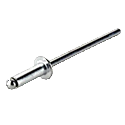
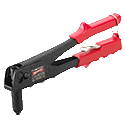
3 Rivet plywood to ceiling
With the help of some extra hands, hold your plywood in place on the ceiling. Then rivet the plywood to your ceiling’s braces making sure not to drill your pilot holes through the ceiling of your van.
I marked on painters tape where I could secure the rivets so that they would be covered once I attached the lath to my ceiling.
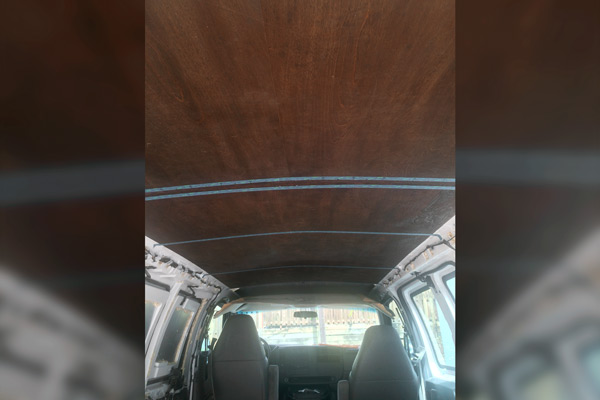
It took three people (including myself) to secure this plywood to the ceiling.

4 Cut hole in roof for fan
The point of no return. Cutting a large hole in your van’s roof is by far the scariest day of the build. First, decide approximately where on the roof you want your fan. I wanted mine above my bed and behind where my roof rack and solar panels would end up being.
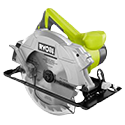
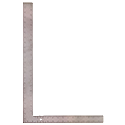
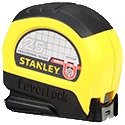
Find the center of the van’s roof by measuring between the roof’s side rain gutters. From there you can measure everything else you need to draw a straight and centered cut pattern on your roof. Once you’re confident everything is right, take a drill and drill a hole on the inside of each corner. You’ll use these holes as a starting point for your jigsaw. Make sure to use a blade length that punctures your van’s metal roof, the insulation and plywood ceiling.
-
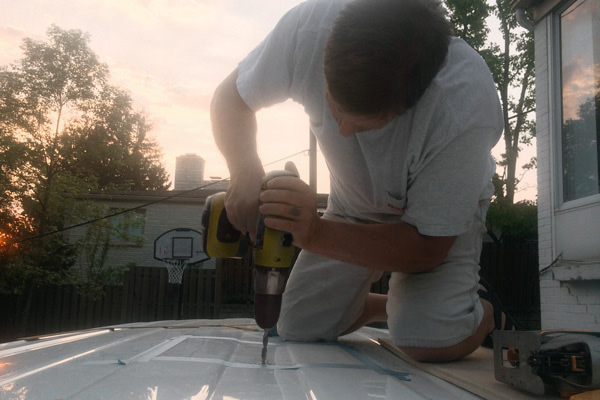
Drilling the holes that will be used to start the cut with the jigsaw.
-
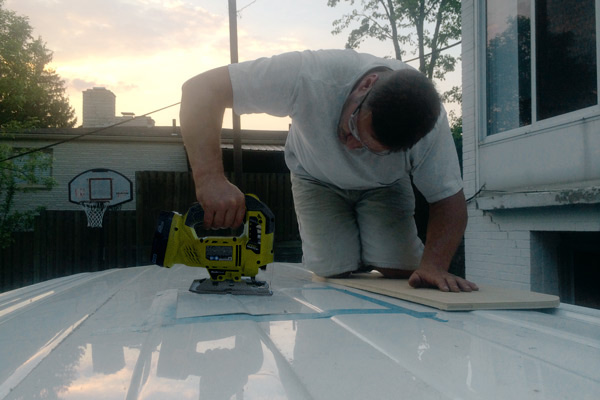
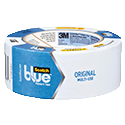
Slowly and carefully cutting through the roof. You can see tape was used to make a more distinct outline of where to cut.
-
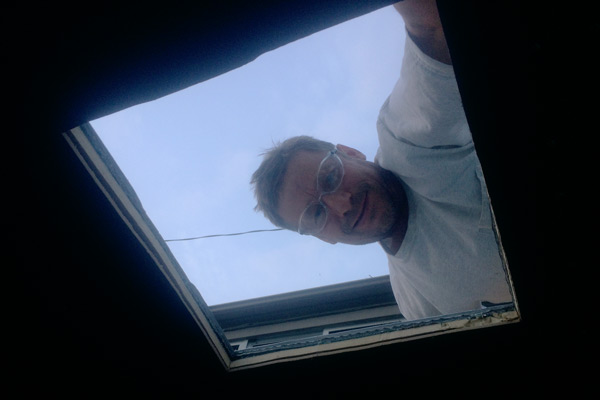
Testing out the new hole in the roof.
Dad Knows Best
You know the old saying "Measure twice. Cut once." Well, when it comes to cutting a hole in the roof of a van I prefer the saying "Measure fifteen times. Then measure one more time. Cut once."
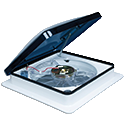
5 Install fan
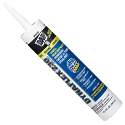
If you cut the hole correctly your fan should slide right in. On the exterior of the van, caulk in between the roof of the van and the fan itself to make a proper water-tight seal. Then put screws in the appropriate places to secure it to your roof.
For the inside you’ll have an edge cover that will need to be shortened height wise. Measure the correct height needed and then score the cover using a utility knife. You’ll then be able to snap the extra plastic off. Screw into place.
IMPORTANT: Your fan will have a negative and positive wire to power it. Slide those to your wall in between the insulation and plywood ceiling. Easiest way is using a coat hangar. Run these wires (taping along the way) to where your main wires will run to your solar.
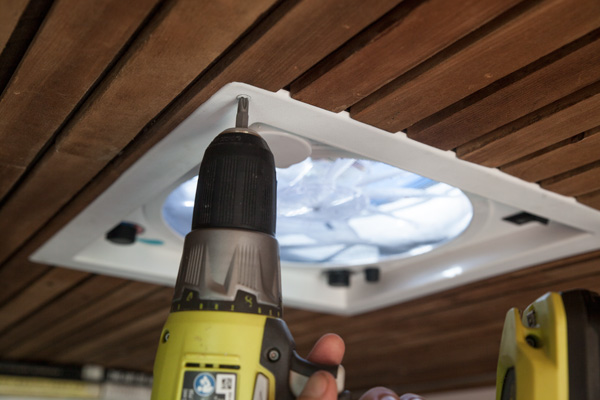
The final step of securing the edge cover in place.
6 Cover ceiling with paneling (optional)
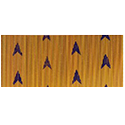
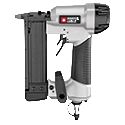
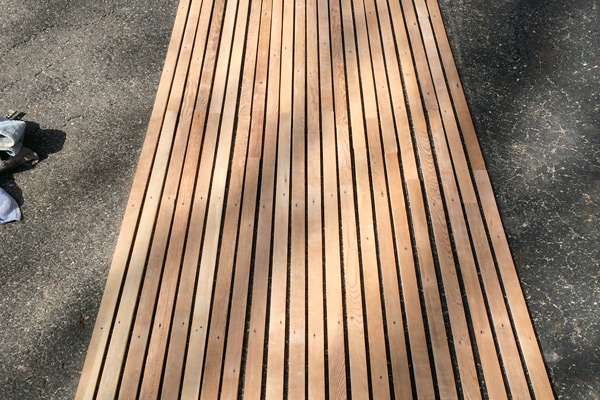
Using the markings on the plywood ceiling, I secured the pieces of lath to the ceiling with the use of a heavy duty glue and a pneumatic pin nailer.
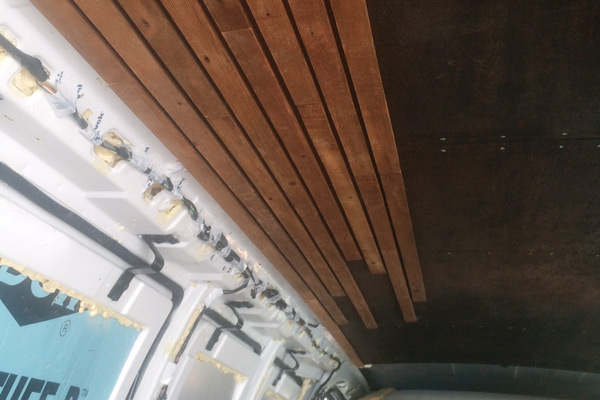
A somewhat tedious process, different lengths of lath were attached in succession to stagger the seams between pieces of wood. This was done to avoid a design that was too uniform.
Prev Chapter
Flooring
Next Chapter
Walls
Follow the adventure on Instagram
Proudly hosted by Media Temple.
©2016 All rights reserved.